 Installation
To install Hydra, you install the Hydra CLI (Command Line Interface) via npm.
npm, or Node package manager, is installed with Node.js Once you install Node.js, you automatically get npm installed on your local environment.
You can install NodeJs here:
With Node installed, from either a command line or from the terminal in VS Code, run the following:
npm install -g @cloudideaas/hydra
The -g flag above is important so that you can use the CLI from any location on your system without having to reinstall.
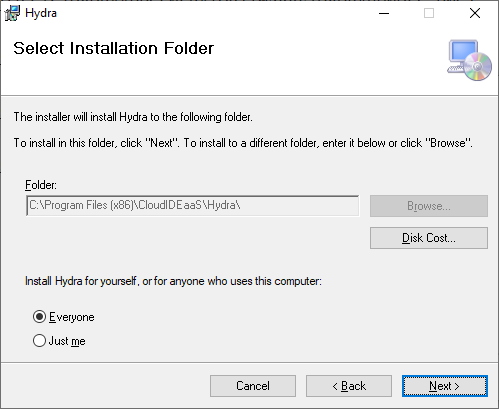
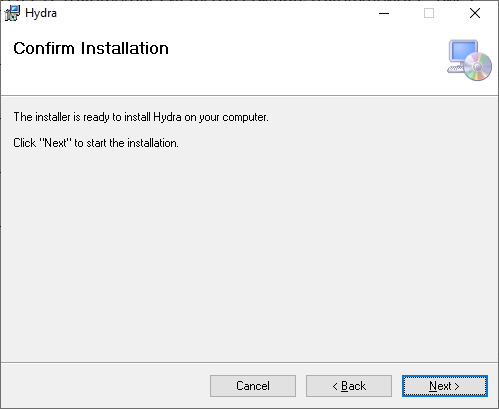
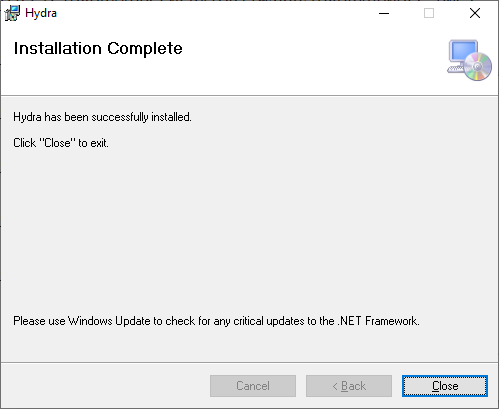
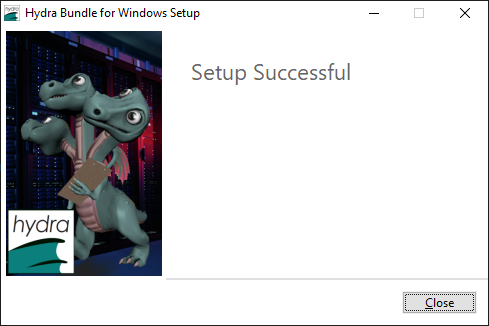
Hydra CLI installs the windows components necessary to leverage the full functionality of Hydra. All components are digitally signed providing you the extra security letting you match the details of us as the publisher and verifying that the components have not been tampered with.
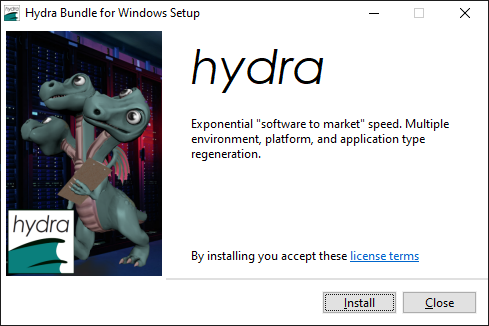
For first time installers, you will see the following:

Once the installer downloads, follow the wizard steps as described:
The rest of the command line output should be as follows:

The version number will reflect the latest version.
The format of the hydra CLI is as follows:
hydra [command] [--argument1 [--argument2]]
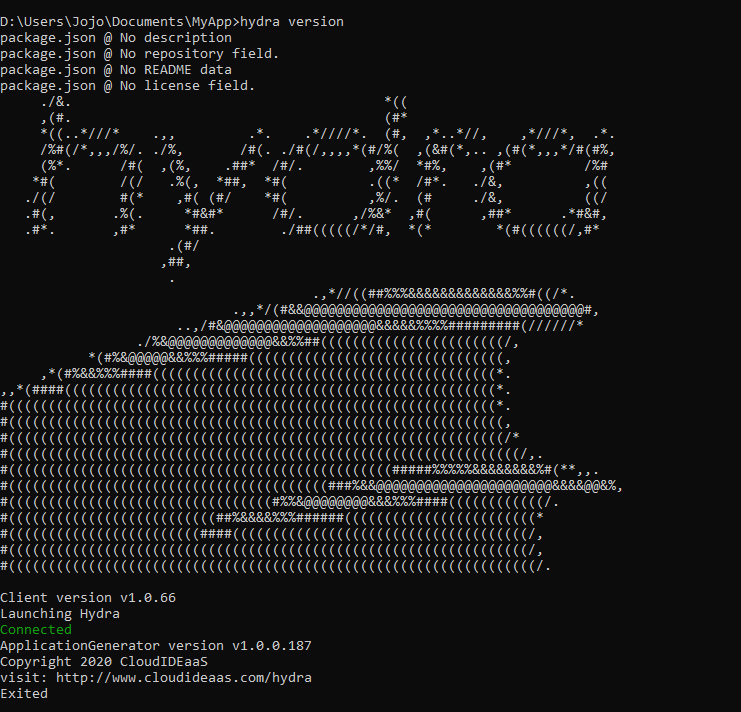
For example, you should be able to check the version using the following command:
hydra version
The output should be as follows:

Comment or report problem with topic